

Enter drawing instructions for a part
At the main menu:-
● Select: Libraries - Machining
or
![]() Select
the Toolbar option
Select
the Toolbar option
The library screen shows one part drawing per screen:-
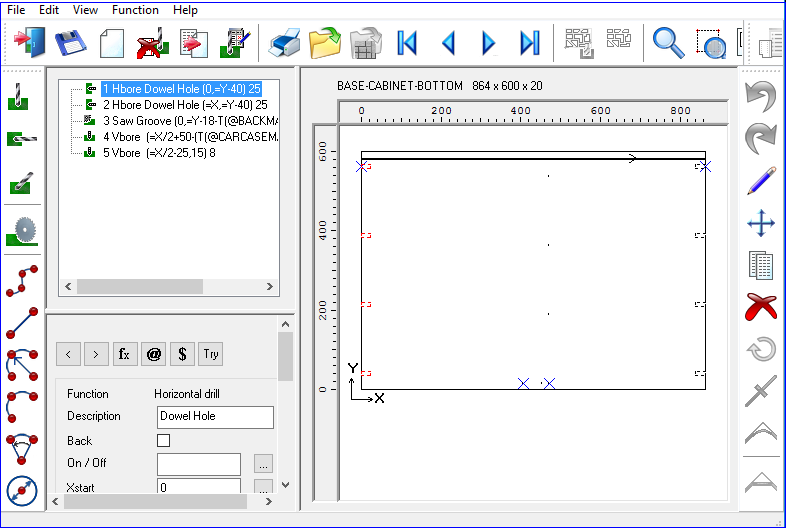
At the left are specific buttons one for each machining tool, such as Groove Saw, Router .... Use these to add instructions to the part. At left centre is a panel showing the full details of the current instruction. This is also highlighted in red in the part drawing at the right.
If one of an instructions fields can be entered as a formula then there will be a button to its right. Clicking the button opens up a formula dialog which allows the user to enter a formula. This is similar to the fields in product library and formula table.
![]() New item
New item
 Use the navigation buttons to move between items
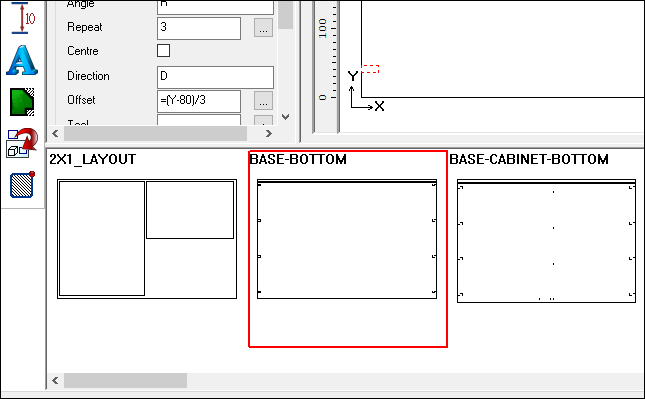
If the Preview bar option is set (View menu- Preview bar), a list of machining drawings, parts or patterns is displayed at the bottom of the screen (see below). Left clicking on a drawing will load it into the main drawing area.
![]() Select an item
Select an item
![]() Save
Save
![]() Delete
Delete
![]() Print
Print
![]() Help
Help
![]() Exit
Exit
At the far right is an edit toolbar and the usual options are available for manipulating each drawing element, move, copy, delete ...
 Use
the mouse to enter the machine instruction. Left click on a blank drawing
to enter drawing mode or click on part of the drawing to edit that instruction.
Select Right Click to select the edit menu. This allows edit, move, copy
and delete instructions or groups of instructions or use the DEL key for
delete.
Use
the mouse to enter the machine instruction. Left click on a blank drawing
to enter drawing mode or click on part of the drawing to edit that instruction.
Select Right Click to select the edit menu. This allows edit, move, copy
and delete instructions or groups of instructions or use the DEL key for
delete.
Drawing selection
At the file menu the option 'File - Open' offers a sub menu to choose the type of drawing to select. The options are:-
Drawings
Link
Template
![]()