

How to create templates for nesting
At the Machining library:-
- Select or create a template drawing
- Use the edit options to create a template
Parts
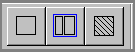
● Select: Edit - part
or
![]() select
the Toolbar option
select
the Toolbar option
- Use the mouse to draw a rectangle to place the parts on the template
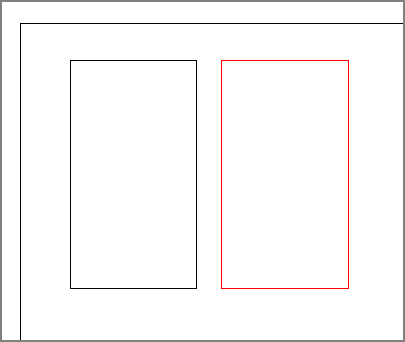
The exact size and spacing of the parts is determined from the part list sizes at optimising so only the layout is required and the parts do not have to be accurately sized or spaced.
Strips
For a more complex layout use the strip command to specify which sections must be kept together.
- Select: Edit - strip
or
![]() select
the Toolbar option
select
the Toolbar option
- Use the mouse to draw a rectangle to place the parts on the template

The strips are shown as blue lines and parts as black. The current instruction is shown in red.
The drawing area is taken as a strip so this does not need to be defined separately.
Waste parts
Use this option when the template needs to include a waste (or spacer) part.
- Select: Edit - Waste part
or
![]() select the Toolbar option
select the Toolbar option
- Use the mouse to draw a rectangle to place the waste part on the template
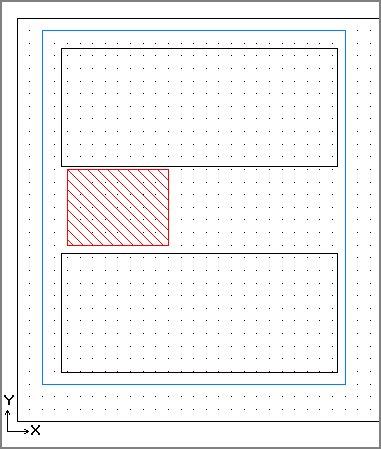
The waste part is shaded.
Notes
- editing options: copy, delete etc. are on the Edit Toolbar
- switch on the 'grid' and 'snap to grid' options for aligning parts
![]()