

Setting the initial part of a 3D model
The first task that needs to be performed when building a 3D product is the positioning of the first part.
This part must be positioned within the product cuboid that has been specified with the ‘X Width’, ‘Y Height’ and ‘Z Depth’ depth values for the product in the product library.
The rest of the product will be built by connecting other parts to the first part and then connecting other parts to those parts in turn.
Choosing a first part
The first time a user starts to build a product they will be presented with a wizard which will guide them through the steps required to position a first part.
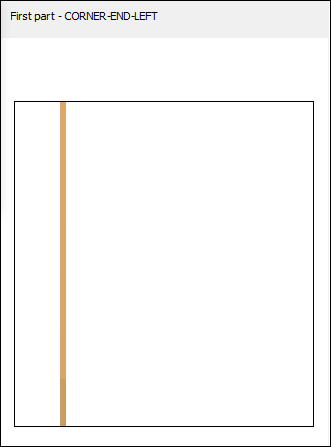
The first step is to choose a part from the list on the right hand side.
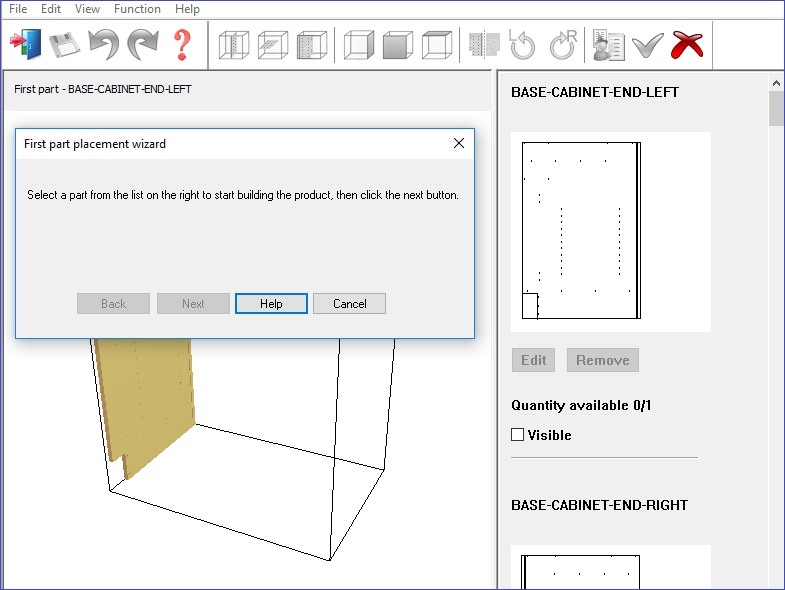
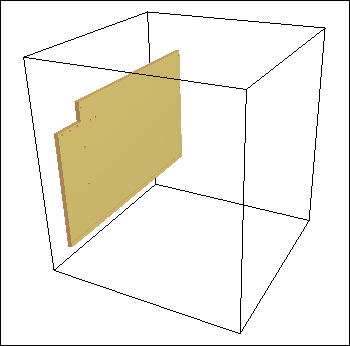
Once a part has been selected the part will appear in the product cuboid and the next button will become enabled on the first part wizard dialog.
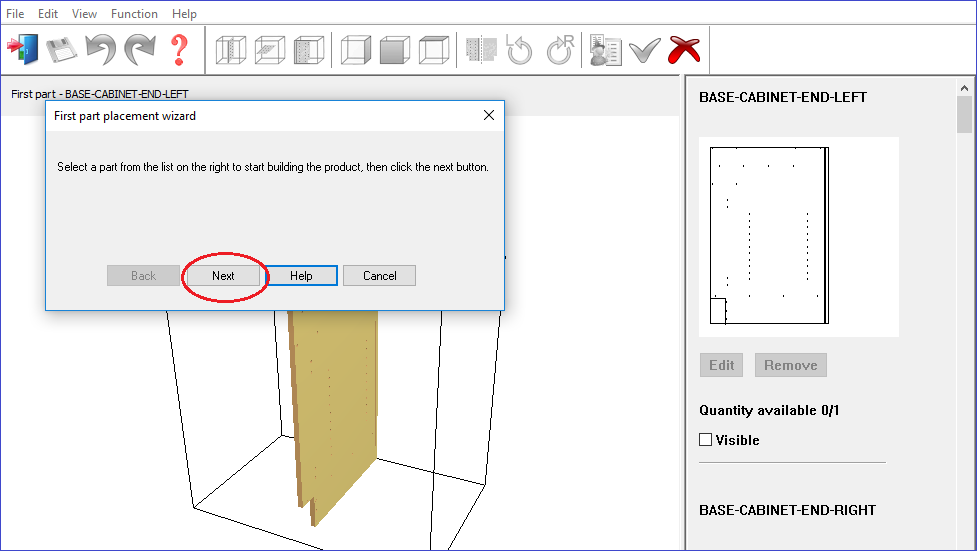
Once the next button has been pressed in the dialog, the alignment buttons will be displayed.
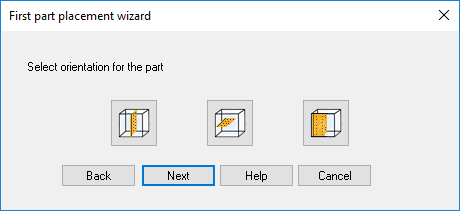
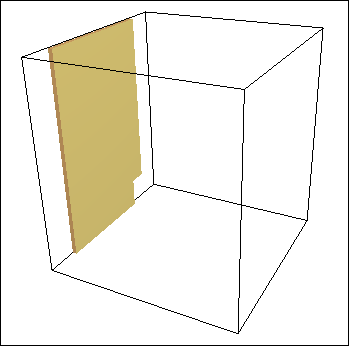
The alignment buttons allow the choice of which face of the product the first part will be aligned with:
Side aligned

Top aligned

Front aligned
Once the first part alignment has been chosen pressing next on the wizard dialog will move to the next stage of first part positioning.
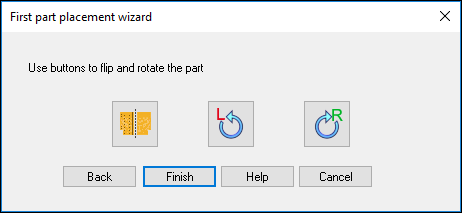
Part rotated 90 degrees to the right
Flipped part
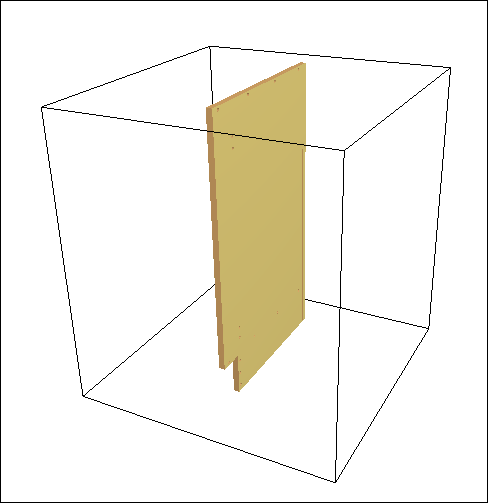
Finally the first part can be positioned in the last wizard dialog stage:
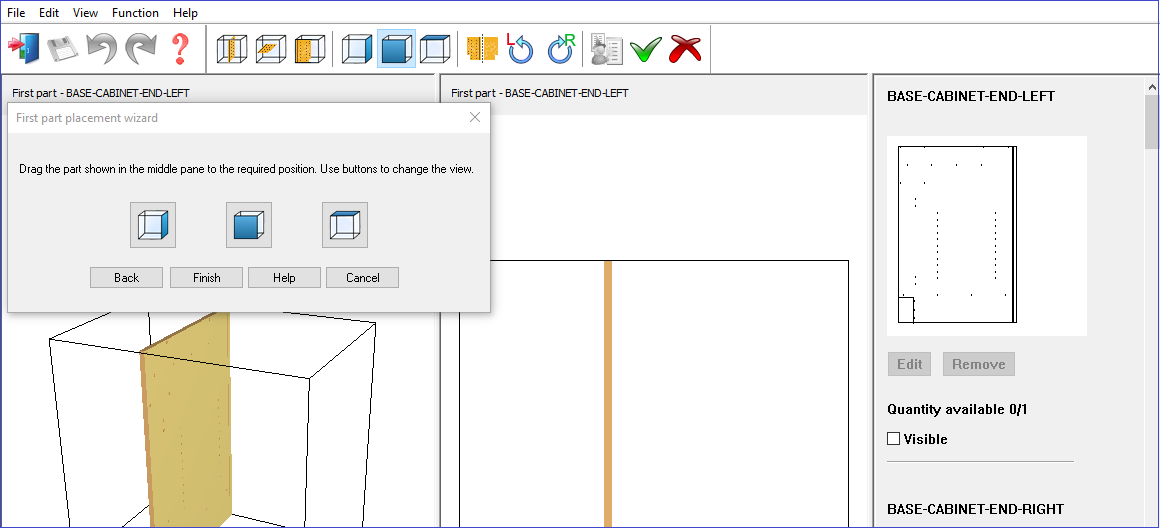
Positioning the first part
In this stage the camera angle can be chosen using the three buttons on the wizard dialog. Side view, front view or top view.
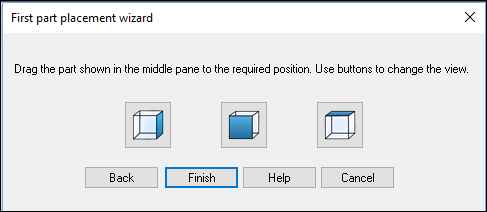
The first part can then be dragged into the required position by left clicking on it in the middle view and dragging it about.
First part positioning view
When the first parts position and orientation is correct the finish button must be pressed to commit it.
At any stage during the first part positioning process it is possible to move back to a previous stage by pressing the back button.
If cancel is pressed before the first part is committed a warning dialog will be shown warning that progress cannot continue with building a product without first positioning a first part:
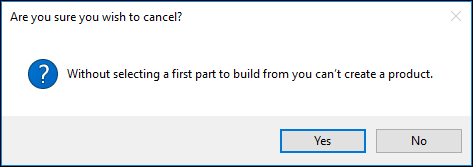
If the yes button is clicked to continue with cancelling the product builder will close.
The first part positioning mode can be returned to at any time when building a product by pressing the ‘first part positioning’ button on the LHS tool bar:
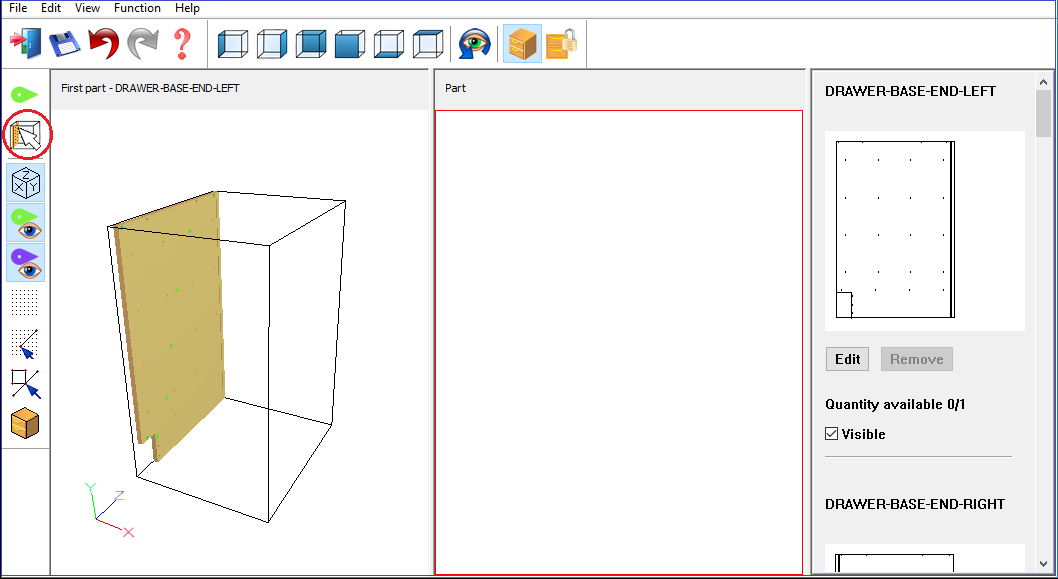
When entering the first part positioning mode for the second time and all subsequent times, it is possible to perform all of the actions provided by the first part wizard using the first part positioning toolbar:

The wizard can
be reopened within the first part mode at any point by pressing the wizard
button on the dialog:
Changes
to the first parts position and/or orientation can be confirmed using
the ‘Confirm first part placement’ button:
Or
changes can be cancelled and the user returned to the product builder
with the previous first part placement using the ‘Cancel first part placement’
button:
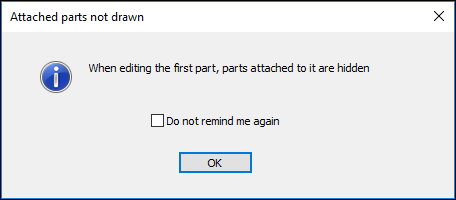
When re-entering the first part positioning mode any parts connected to the first part will be hidden.
A dialog is displayed to confirm that fact:
![]()